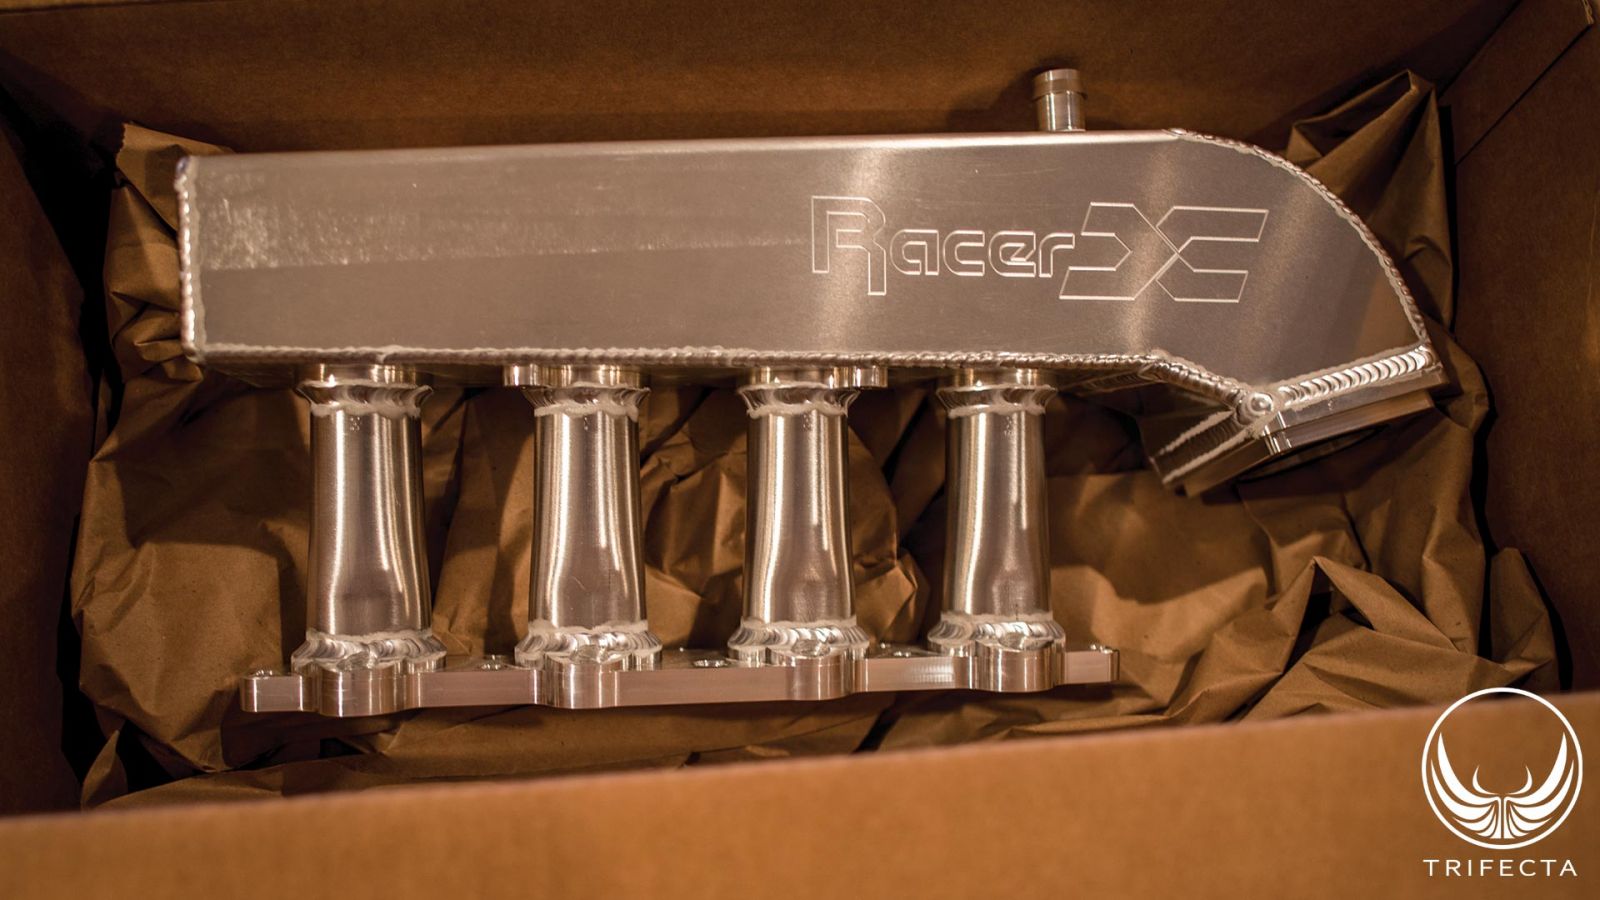
Figure 1 – Racer X Manifold for the 1.4L Turbo (RPO:LUJ/LUV)
Summary
We found, with appropriate recalibration, the Racer X Fabrication intake manifold increases power as measured on the dyno, by up to 12 horsepower as measured at the wheel. Torque output peak was unchanged, but did shift up the RPM band by about 200 RPM (e.g. it took 200 RPM more to reach peak torque).
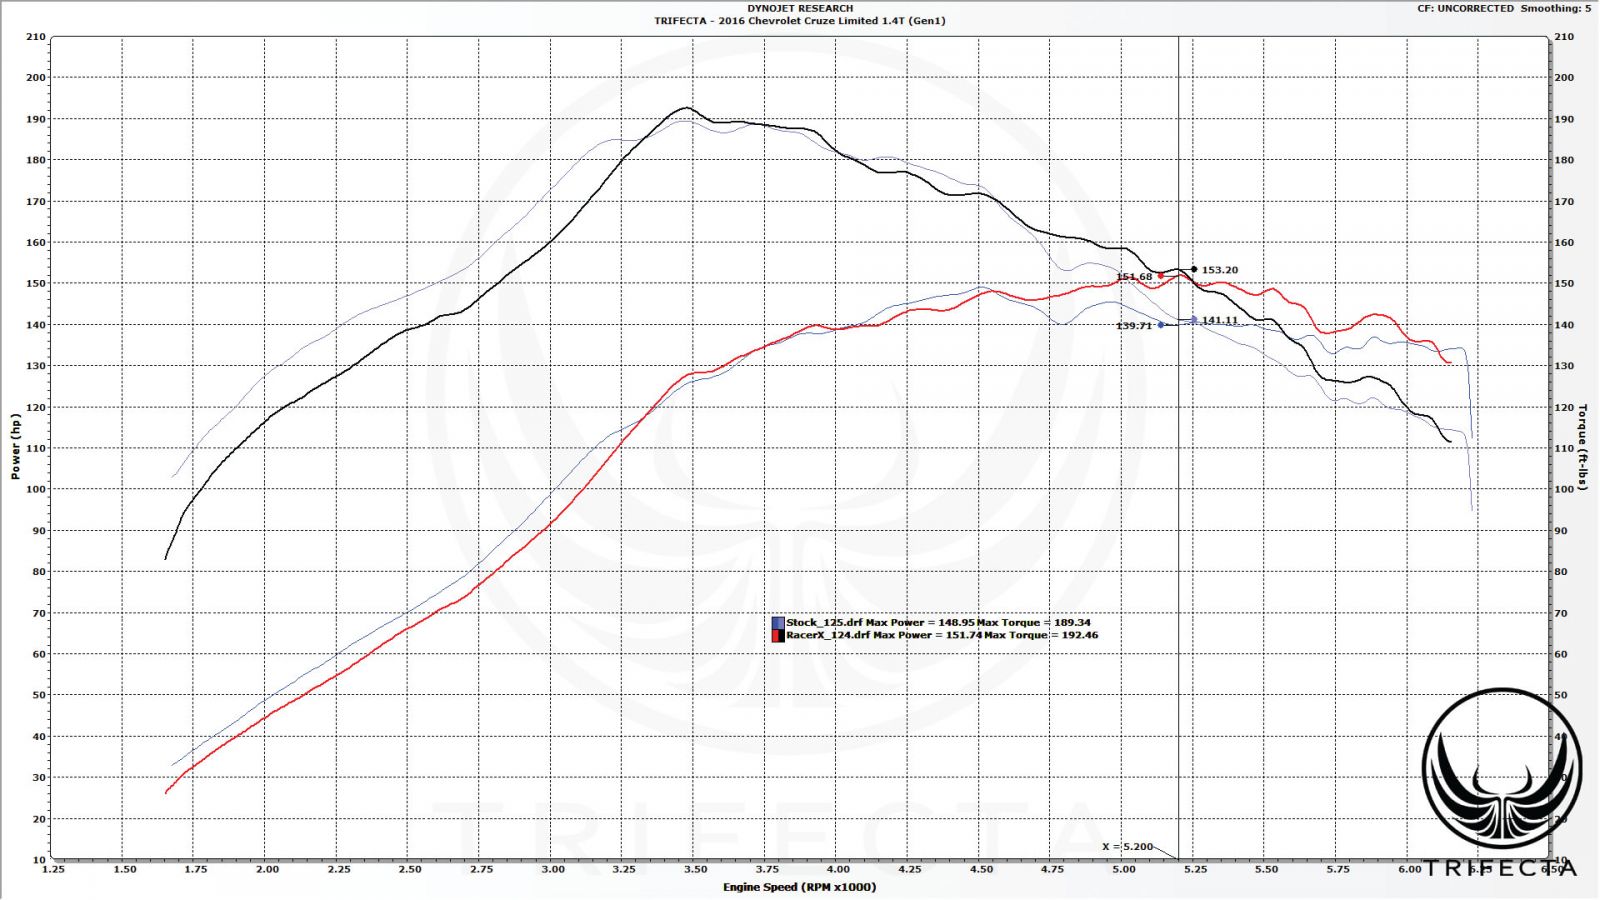
Figure 2 – Dyno sheet showing Stock vs Racer X performance
Beyond the power gains, it is our opinion this product will be popular in this market because it also permanently and effectively addresses the PCV issues this engine is known for, provides a custom upgrade part (and look) for these vehicles, and also allows for future expansion, as there are several unused ports in the end of the manifold which could be utilized for additional instrumentation, or water,
water/methanol, and/or nitrous injection directly into the manifold.
Comparison to Ported Intake Manifold (OE)
Prior to the arrival of the Racer X manifold, the only other intake manifold modifications that had been widely used were the porting of the intake runners of the stock intake manifold, the so-called ported intake manifold, and the PCV system modification.
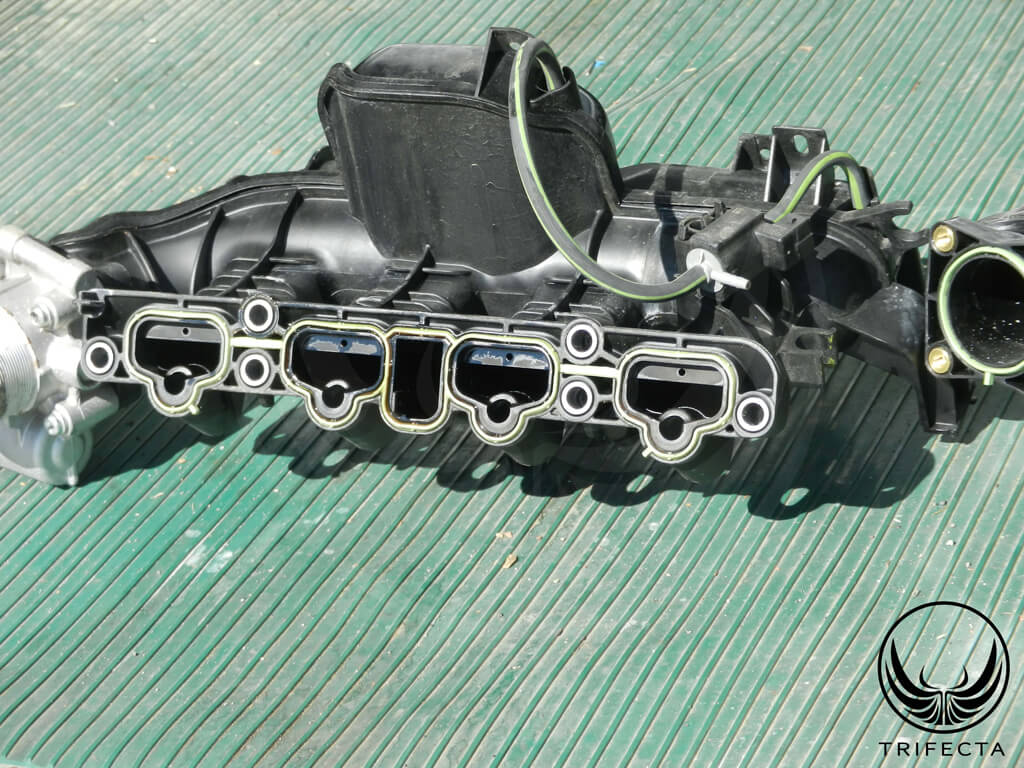
Figure 3 – Stock Intake Manifold with “air tumblers”
The OE intake manifold has a restriction in the runner near the intake port. It is believed these are actually air tumblers and are meant to induce intake charge swirl for more efficient combustion. However, it is also theorized that these air tumblers reduce and restrict airflow when higher levels of airflow are introduced (e.g. turning up the boost, upgraded turbocharger, etc.). We had performed a preliminary test on a ported manifold versus a stock manifold several years back and saw negligible change in power on the dyno, but a possible loss of efficiency (more timing advance was required to maintain similar power levels to unported manifold). Ironically, while the effect is the ECM reports the power output level has increased due to the additional timing advance (despite a wash on the dyno), the loss of efficiency could be attributed to less efficient mixing of the air and fuel charge due to the lack of tumblers, but a more conclusive test is needed.
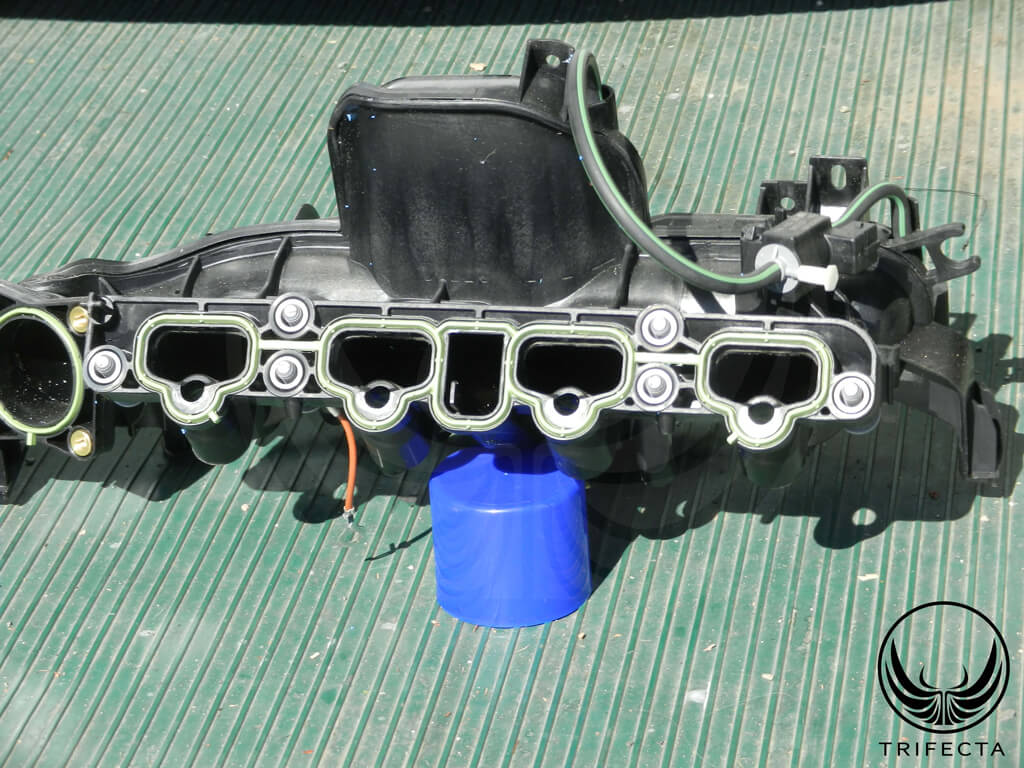
Figure 4 – OE Ported Intake Manifold
The PCV system modification addresses PCV system failures that are prevalent on this engine by utilizing an external, and more robust check valve for introducing PCV vapors back into the intake manifold. This is achieved by installing a brass fitting in the bottom of the PCV chamber in the intake manifold, routing the PCV vapors either to a throttle body spacer, or the brake booster fitting.
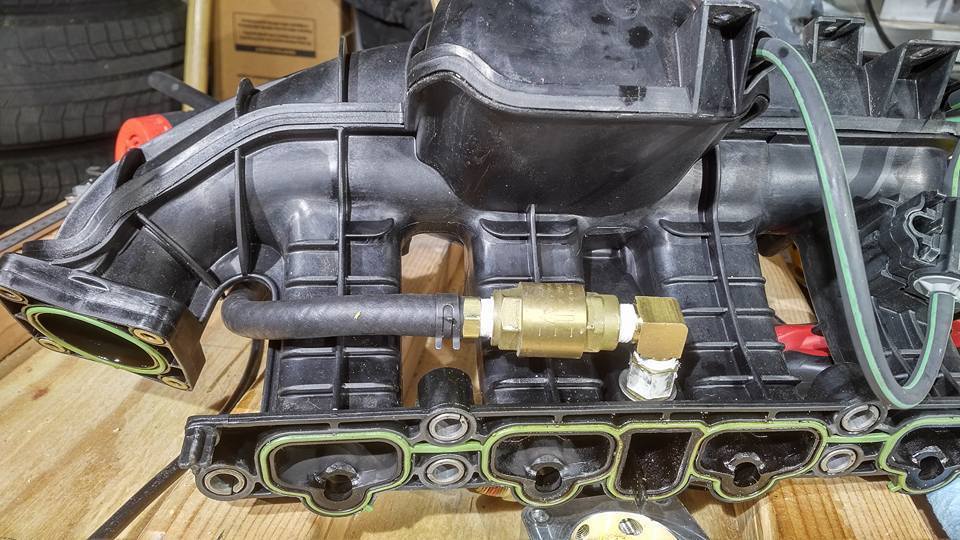
Figure 5 – OE Manifold PCV Modification
While both of these modifications are popular in the community, they are also considered do it yourself (DIY) modifications which require special tools and skill.
At the time this test was conducted, we did not have a ported intake manifold available, but we plan to do a comparison to it in the future.
TRIFECTA Calibration Support
We are pleased to announce immediate and full support for the Racer X manifold for the GM 1.4L turbo engine in our full custom calibration tier (Elite). Additionally, we will offer a free update for any TRIFECTA customer of record on or before 05/31/2018, regardless of which product tier they purchased!
Test Vehicle
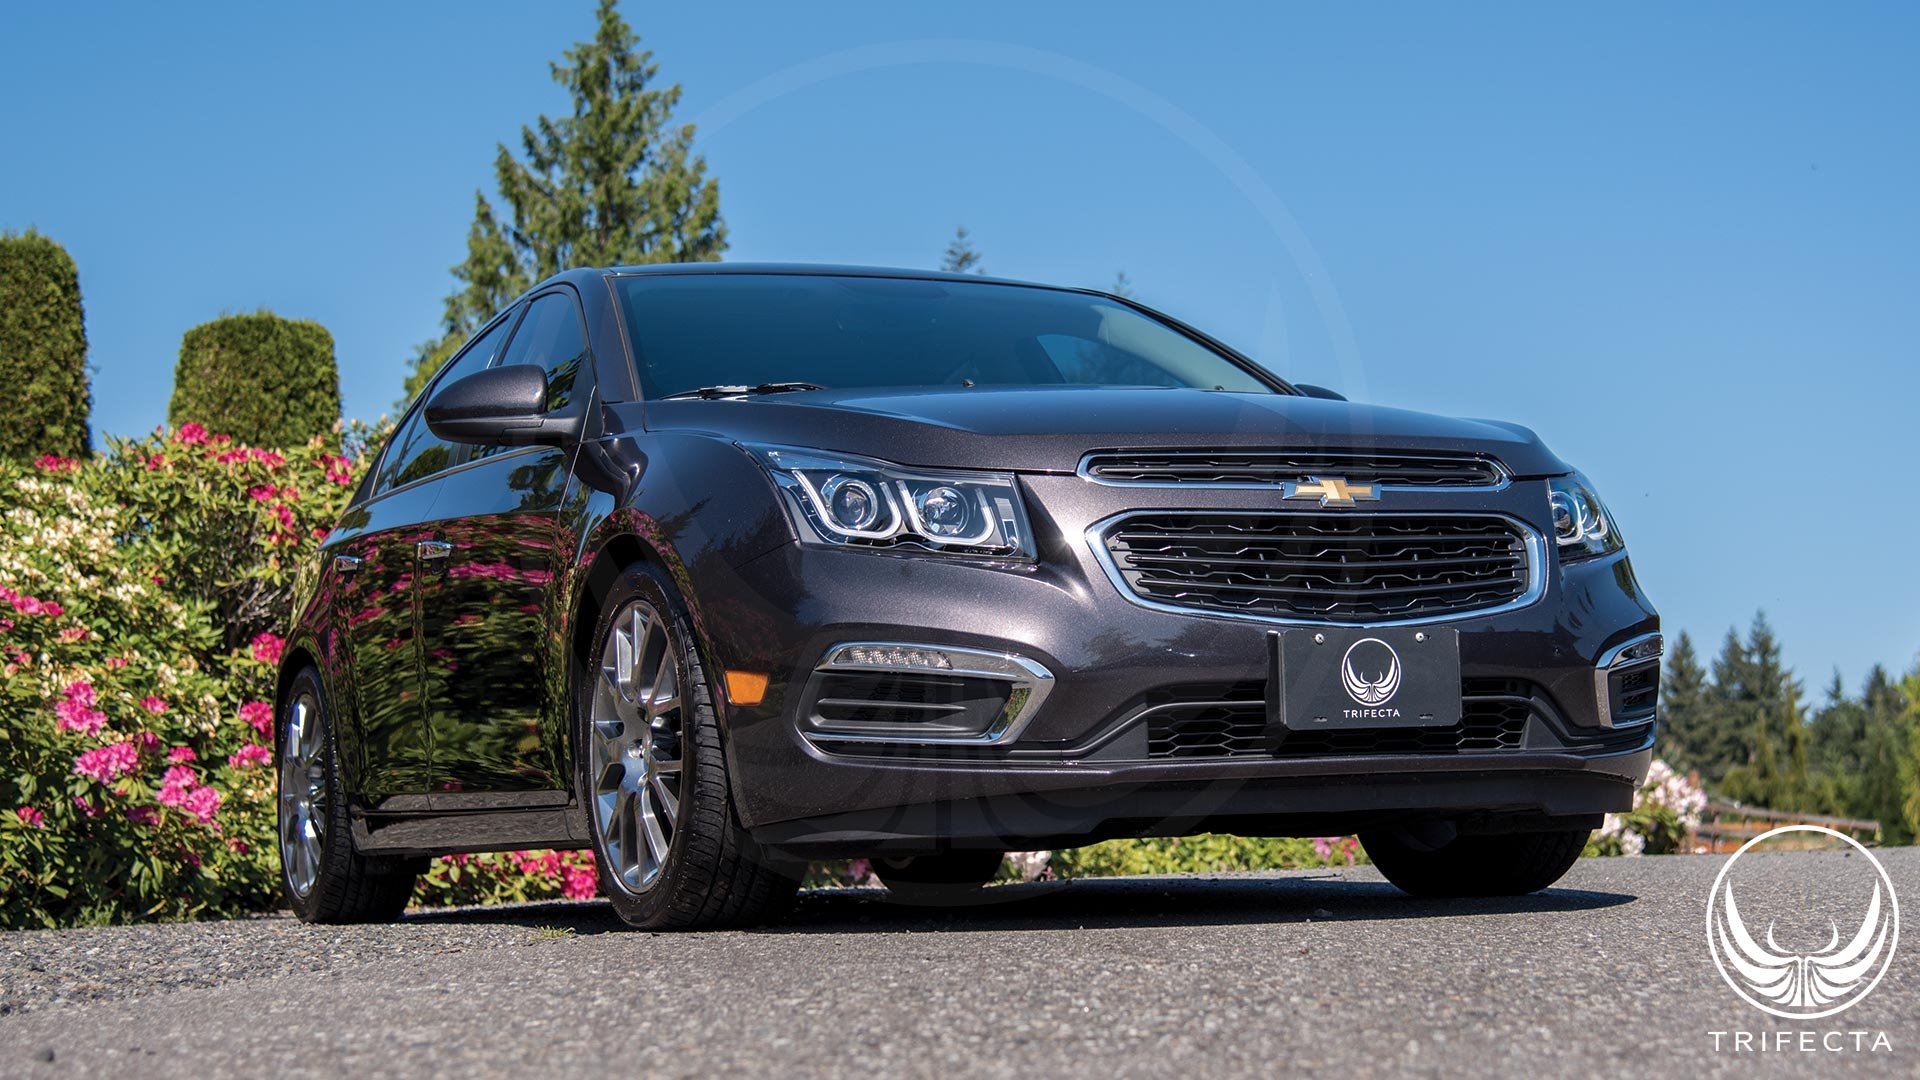
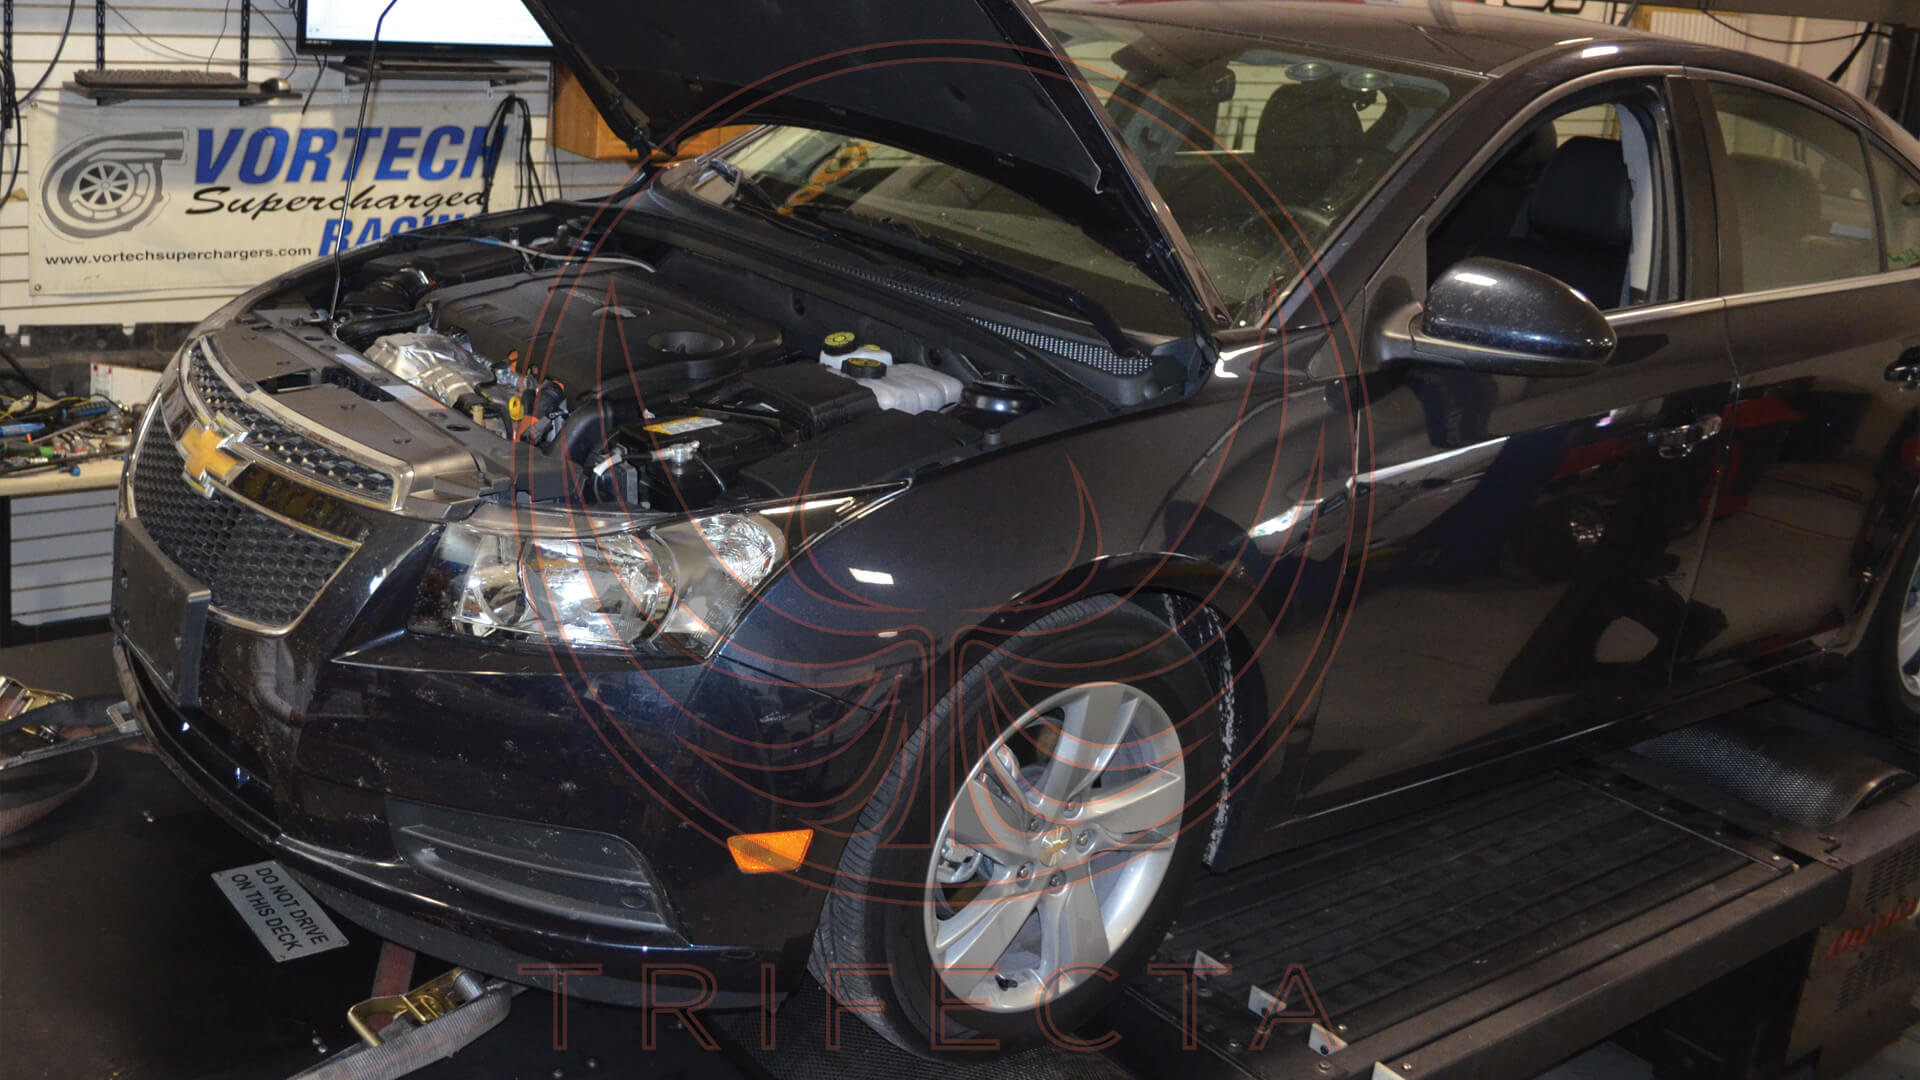
The test vehicle is a 2016 Chevrolet Cruze Limited LT, equipped with the 1.4L Turbo engine (RPO: LUV), and the six speed automatic transmission. The vehicle has approximately 18,500 miles on the odometer, and aside from the manifold is also equipped with a catless down pipe, cat less mid pipe, and K&N cold air intake system. There were no other pertinent modifications to the vehicle. “92 octane” fuel, considered premium unleaded in the Seattle, WA area was used for all tests.
Test Procedure
In order to keep the test results as accurate as possible, we tested both manifolds on the same day, on the same vehicle, on the same chassis dyno, back to back. We tested the Racer X manifold first, since we had installed it previously for calibration procedure. After performing several test “pulls” on the dyno, in manual 4th gear, we let the car cool down, installed the stock manifold, warmed it to operating temperature, and performed several test “pulls”. From the beginning of the test procedure, to the end, the ambient air temperature only changed about 2*F. The dyno used was a Dynojet 424xLC all wheel drive dyno equipped with eddy current load cells (but were not used for the test).
The vehicle was operated in manual 4th gear for all test pulls. After the dyno brake was released, the vehicle was put in manual 3rd gear, run up to 20 MPH, shifted to manual 4th gear, then decelerated to 1100 RPM, and then a wide open throttle maneuver was executed. The vehicle was operated until 6200 RPM, and the dyno “pull” was concluded.
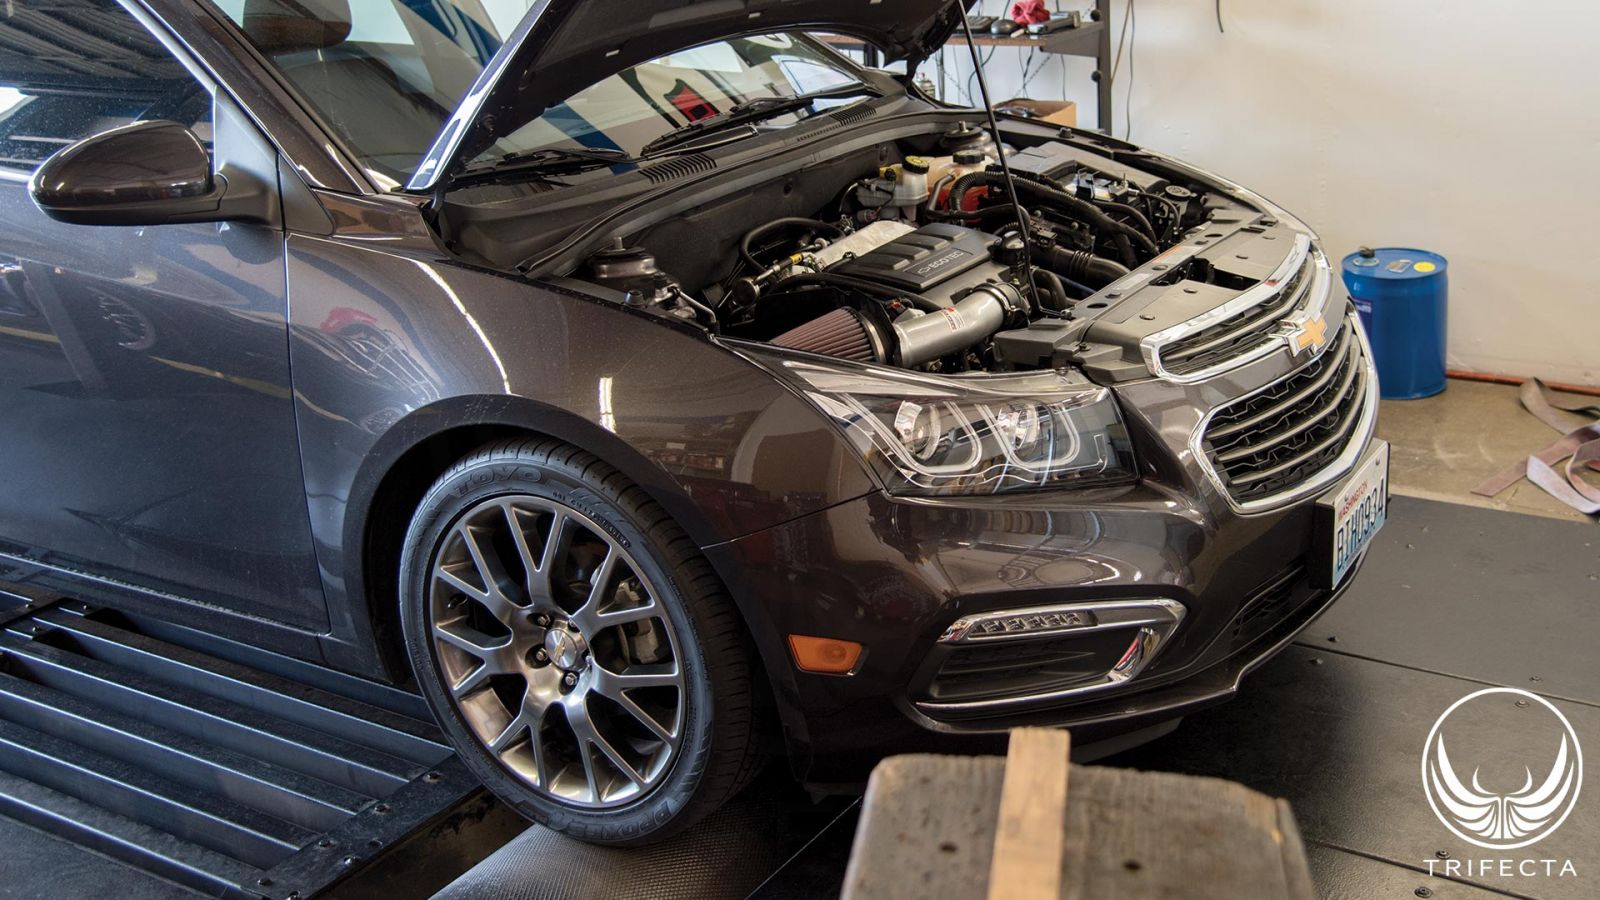
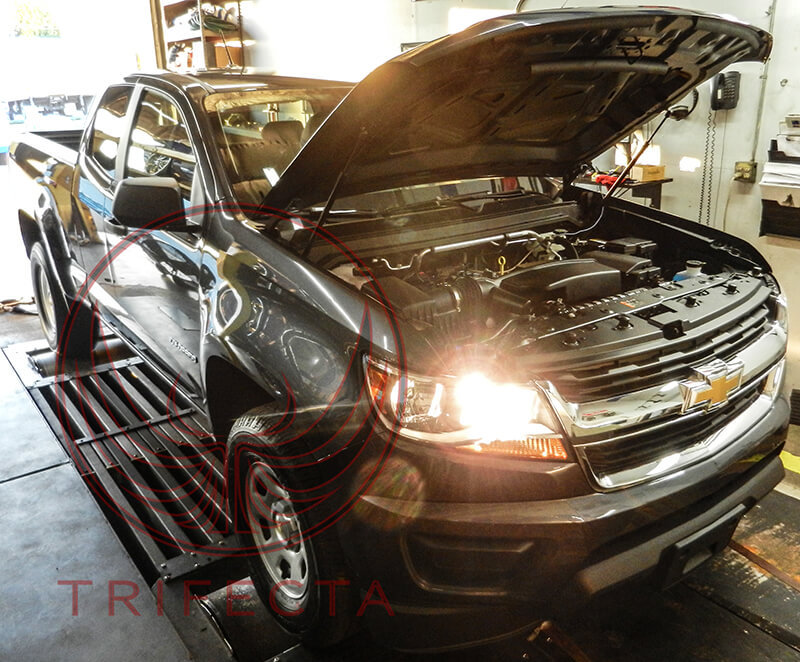
Figure 7 – Test Vehicle on the dyno, with Racer X manifold
Installation
The installation of this manifold is fairly straightforward, but isn't 100% “reversible” (more on this later). The manifold has an optional PCV system “add-on”, but we couldn't see how this manifold could be installed without it, unless one chose to simply vent PCV gases to the atmosphere, or perhaps someone wanted to fabricate their own PCV solution. Installation requires transferring (from the stock manifold): 1. The fuel rail and fuel injectors to the new manifold, 2. The EVAP solenoid, and 3. The Manifold Absolute Pressure (MAP) sensor. The installation instructions also call for retaining the turbo bypass valve (BPV) control solenoid so the Engine Control Module (ECM) won't set the check engine light, but we chose to skip this step and devised a means of installing the manifold without the BPV control solenoid without any negative effect via the ECM calibration.
While we say this kit isn't 100% “reversible” (more like 90% “reversible”) it's of little consequence, in our opinion, because it would be unlikely an end customer would want to, or ever go back to their stock intake manifold. It's not fully reversible, because it requires cutting of some of the hard plastic lines that route to the brake booster and the PCV vent to the turbocharger inlet in order to complete installation.
Initial Test Drive
Our test vehicle was equipped with the production TRIFECTA Advantage calibration. On the first test drive, we noticed two issues with the vehicle, one was a hesitation and “dip” in power, in some cases accompanied by audible spark “knock” in the 5000 RPM range under full acceleration, and what seemed to be a somewhat laggy pedal response. While the manifold manufacturer states the manifold will work without issue on the stock calibration, it was clear to us that some additional calibration work would be needed for vehicles that have a more powerful aftermarket calibration.
One net effect of using this intake manifold, which sports a larger intake plenum volume than the factory intake manifold is that actual manifold pressure levels end up lower than stock (while moving a higher amount of airflow due to flow and efficiency improvements). These changes in airflow and pressure dynamics showed us more in depth recalibration would be required.
Dyno Calibration Session
We spent most of a full day addressing the vehicle performance issues we had noted previously (the most time consuming being the full recalibration of the wastegate duty cycle table). We were able to resolve all of the performance issues and were able to regain the throttle response we experienced with the stock manifold.
After completing the dyno calibration session, and resolving some minor calibration issues with street testing, we put approximately 1000 miles on the vehicle as a short term reliability test. No further issues were experienced.
Airflow and Pressure Statistics
When we performed the final back to back test on the dyno with the Racer X manifold vs the stock manifold, the following airflow and pressure statistics were observed:
Airflow (mass air flow sensor) lb/min, 6020 RPM and Manifold Absolute Pressure:
Compressor inlet pressure: 98 kPa
RacerX: 18.55 lb/min, 211 kPa (113 kPa, 16.385 psi boost)
Stock: 18.32 lb/min, 227 kPa (129 kPa, 18.705 psi boost)
At 6020 RPM, in both cases, maximum pressure is obtained from the compressor. However, despite the manifold being at almost 2psi less boost pressure RacerX vs stock, the airflow is still higher, which is a more accurate measure of performance.
We also sampled the data at 5500 RPM, the airflow differences were more pronounced (with similar manifold pressure):
Compressor inlet pressure: 98 kPa
RacerX: 18.62 lb/min, 229 kPa (131 kPa, 18.995 psi boost)
Stock: 17.52 lb/min, 225 kPa (127 kPa, 18.415 psi boost)
Conclusion
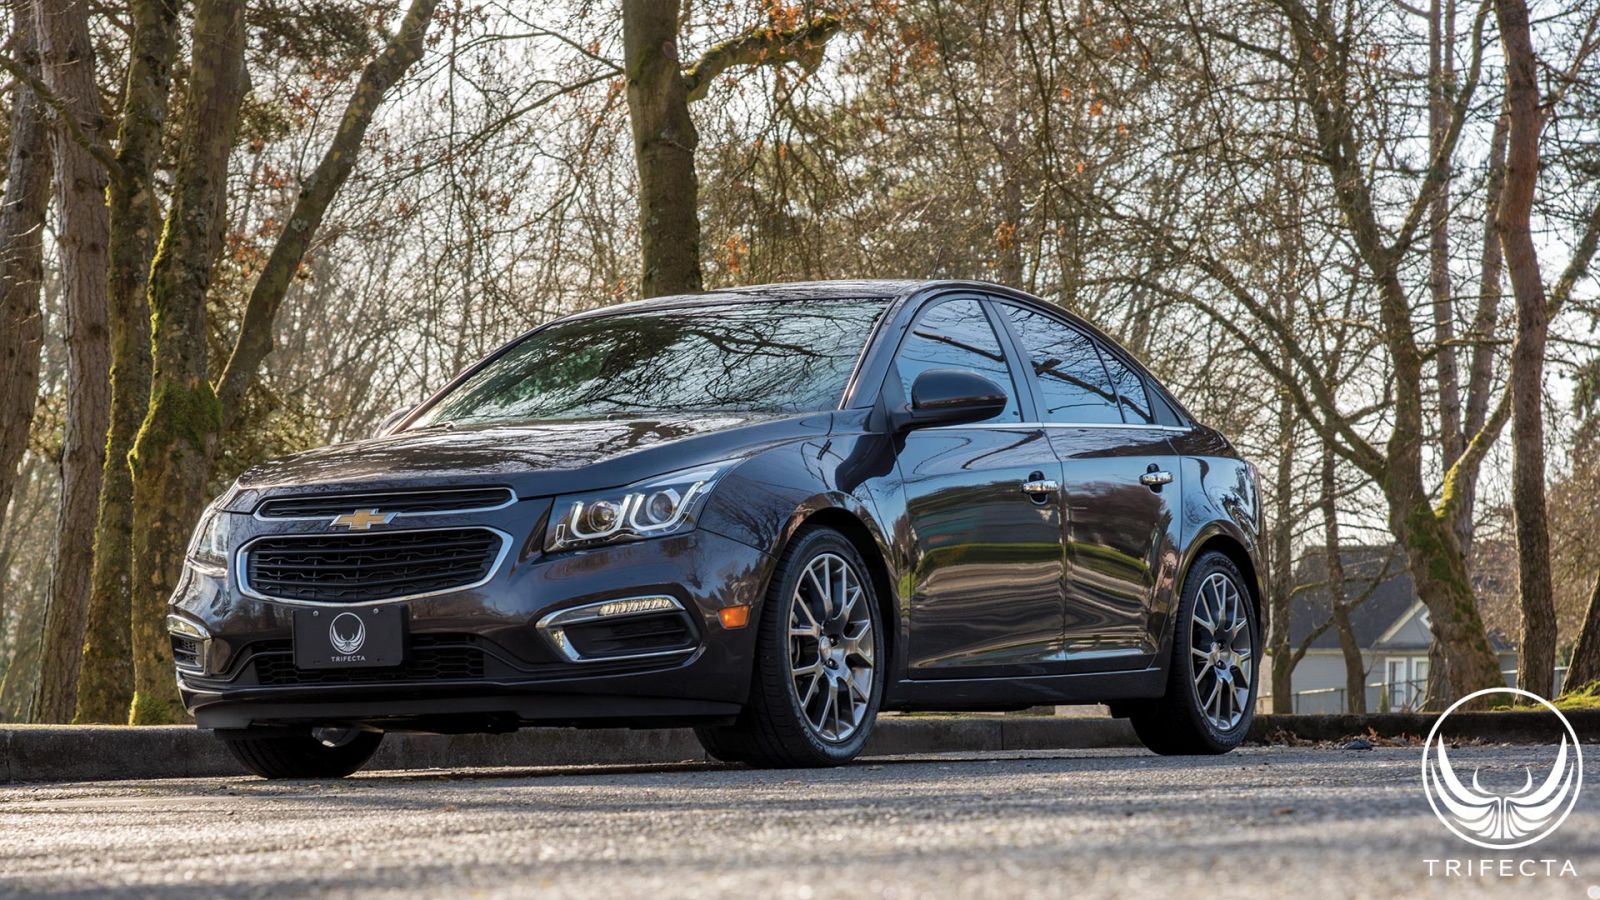
Our testing has shown this product increases power, addresses several long-term issues with this platform (PCV system issues) all while offering a unique and customized look to the enthusiast's Chevrolet Cruze or Chevrolet Sonic! We believe it will continue to be a popular choice for people seeking the best for their vehicle!






Recommended Comments
Join the conversation
You can post now and register later. If you have an account, sign in now to post with your account.